Digital Signage Installation Best Practices: Mounting, Cabling, and Screen Placement Tips
Installing digital signage is more than just hanging a screen on the wall. Thoughtful planning and execution can significantly impact the visibility, longevity, and effectiveness of your digital signage solution. Whether you’re deploying a single display, a video wall, or a network of screens across multiple locations, adhering to best practices during installation is critical to achieving your business goals.
This guide covers practical, actionable advice for commercial digital signage installation, focusing on screen placement, cabling strategies, mounting options, and special considerations such as video walls and accessibility.
Why Proper Installation Matters
Poor installation not only risks technical failures and increased maintenance costs but also diminishes your signage’s ability to engage and inform. Key benefits of following best practices include:
- Optimal visibility and readability
- Reduced downtime and maintenance
- Improved safety and security
- Efficient use of cabling and infrastructure
- Enhanced overall customer and employee experience
1. Choosing the Right Screen Placement
Effective screen placement is foundational to converting your digital signage investment into real-world impact.
Key Factors to Consider
Viewing Distance and Angle:
- Determine typical viewer distance to choose appropriate screen size and resolution.
- Position screens at eye level or slightly above (usually around 1.5 to 2 meters from the floor) for natural eye movement.
- Avoid glare from windows or lights; matte screens or anti-glare coatings help in challenging environments.
Ambient Lighting:
- High ambient light requires higher brightness commercial screens (typically 700+ nits for indoor).
- For outdoor or brightly lit areas, opt for displays rated 2500+ nits with weatherproof enclosures.
Content Type and Interaction:
- Interactive signage benefits from placement where users can naturally approach and engage.
- Informational screens should be placed at entryways, corridors, or waiting areas for maximum impressions.
Traffic Patterns and Audience Behavior:
- Analyze foot traffic and dwell time to position screens where viewers have sufficient time to consume content.
Practical Tips
- Use digital signage planning tools or CAD software to mock-up screen placements before installation.
- Survey the site and measure exact wall dimensions, mounting surfaces, and power sources.
- Test angles in situ with mock screens if possible.
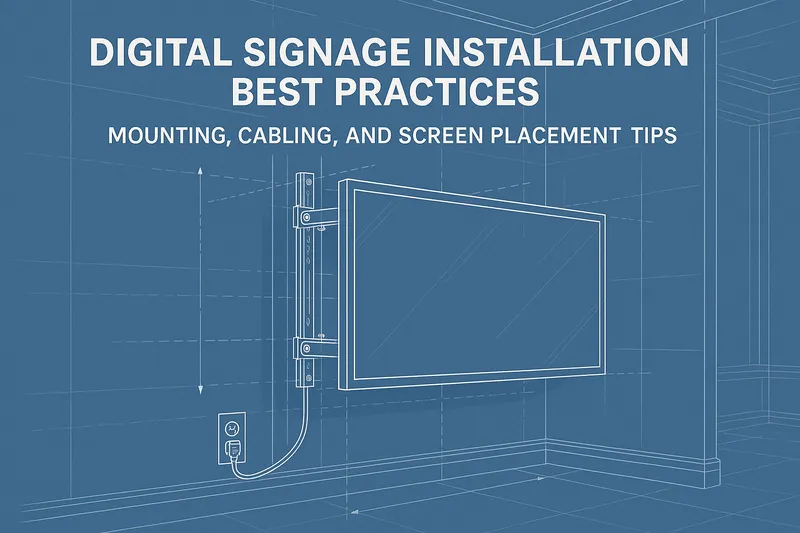
2. Mounting Techniques and Hardware
Choosing the right mounting hardware is essential to supporting your screen safely and securely while enabling practical maintenance.
Common Mounting Types
- Fixed Wall Mounts: Secure, low-profile and suitable for most indoor screens; ensure mounts can support screen weight.
- Tilt and Swivel Mounts: Allow angle adjustments to avoid glare or target different viewing directions.
- Ceiling Mounts and Suspended Solutions: Useful for large indoor spaces with limited wall space like atriums or open office areas.
- Outdoor Enclosures: Must be weatherproof, often rated IP65 or higher, and include cooling/heating to regulate temperature.
- Video Wall Mounting Frames: Custom or modular frames that align multiple screens with minimal bezel gaps.
Installation Considerations
- Confirm mounts are compatible with screen VESA patterns.
- Use professional-grade anchors and carbonation-resistant fixings for heavy screens or concrete walls.
- Ensure compliance with local building and safety codes.
- Allow for adequate ventilation around screens to prevent overheating.
- Plan for future servicing: mounts enabling quick release or easy tilting simplify maintenance.
Example
A retail store deploying a 4x2 LED video wall might use a modular mounting system designed for micro-adjustments in alignment to achieve seamless image quality.
3. Cabling and Power Management
Cable management is often undervalued but critical to both aesthetics and system reliability.
Best Practices for Cabling
- Plan Cable Runs Early: Sketch routes from screens to power outlets and media players before installation.
- Use Commercial-Grade Cabling: HDMI, DisplayPort, or Ethernet cables should be rated for the environment (e.g., plenum-rated for ceilings).
- Conceal Cables: Employ raceways, conduits, or behind-wall wiring to maintain a clean look and prevent damage.
- Label Cables Clearly: Simplifies troubleshooting and future upgrades.
- Power Surge Protection: Use dedicated surge protectors or UPS (Uninterruptible Power Supplies) to protect equipment.
Power Planning Tips
- Provide each screen with an independent power source where possible.
- For video walls, use centralized power distribution to handle multiple displays efficiently.
- Consider backup power solutions for critical signage in healthcare or transport hubs.
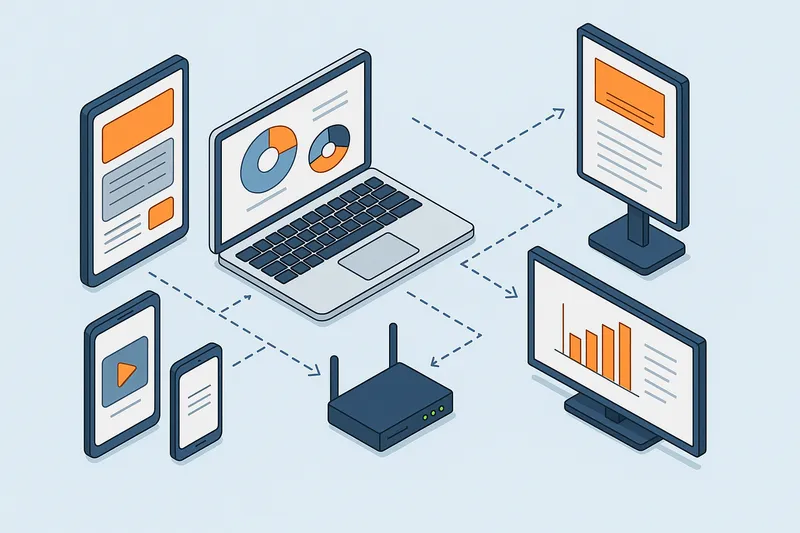
Wireless and Network Considerations
- For digital signage players connected via Wi-Fi, check for consistent signal strength at installation points.
- Ethernet connections provide more reliable streams, especially for high-resolution or video-rich content.
- Use PoE (Power over Ethernet) powered devices if supported to simplify power and data cabling.
4. Video Wall Installation Insights
Video walls require precision and advanced planning to deliver an immersive, visually impressive experience.
Important Factors
- Pixel Pitch and Screen Size: Select based on intended viewing distance; smaller pitch for close-ups and sharper images.
- Calibration and Color Matching: Essential to maintain consistency across all panels.
- Mounting Rigidity: Prevent flexing that can misalign screens.
- Content Distribution: Use CMS with video wall support to segment content properly.
Installation Workflow
- Assemble panels on-site with alignment tools and spacers.
- Perform iterative calibration for brightness and color.
- Test playback with real content before finalizing mount covers and trims.
5. Accessibility and Compliance
Digital signage installations must consider accessibility to comply with regulations and maximize audience inclusivity.
Key Points
- Position screens within reach and line of sight for wheelchair users.
- Use sufficient font sizes and contrast to meet visibility standards.
- Avoid glare and reflections that impede readability.
- Install tactile signage where required alongside digital displays.
Regulations to Consider
- ADA (Americans with Disabilities Act) for U.S. deployments.
- Local and regional accessibility standards for other countries.
6. Testing and Maintenance
Even the best installation benefits from proactive testing and maintenance planning.
Testing Checklist
- Verify screen power-up and CMS connectivity.
- Check content playback across all scheduled playlists.
- Inspect cable integrity and mounting security.
- Confirm network reliability and remote management accessibility.
Maintenance Tips
- Schedule regular dusting and cleaning of screens with manufacturer-approved materials.
- Use remote monitoring tools to track device health and uptime.
- Keep firmware and software up to date.
- Train on-site staff for basic troubleshooting and reporting.
Conclusion
Successful digital signage installation combines technical precision with practical foresight. By carefully planning screen placement, choosing the right mounting solutions, managing cables neatly, and considering audience accessibility, businesses can maximize the value of their digital signage investments. Whether deploying a single screen or an extensive video wall, adhering to these best practices will enhance display effectiveness, minimize downtime, and create engaging visual experiences that support your brand and operational goals.
For cloud-managed installations, platforms like EasySignage can facilitate central monitoring and scheduling, adding an operational layer to well-executed physical infrastructure.
Summary of Digital Signage Installation Best Practices
- Plan screen placement based on viewing distance, lighting, and traffic flow
- Select mounting hardware according to environment and screen size
- Conceal and label cabling while ensuring power integrity and surge protection
- Follow strict alignment and calibration protocols for video walls
- Ensure accessibility compliance for all viewers
- Employ regular testing and scheduled maintenance to ensure uptime
Proper installation is the silent backbone of digital signage success. Get it right, and your content will shine at every glance.